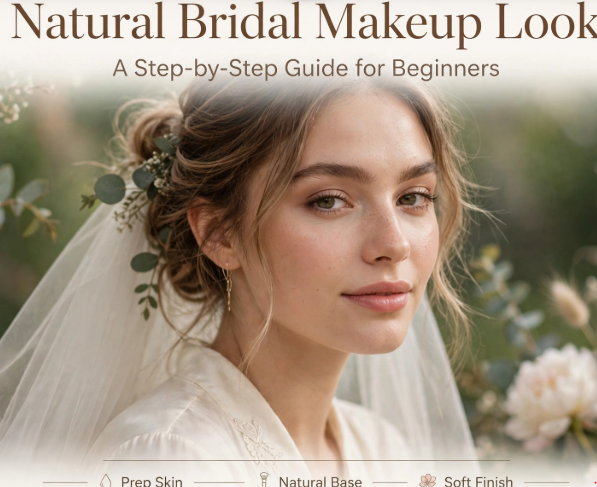
Almost every bride who sits in front of me says the same sentence: ‘I want to look like myself — just better.’ Then she shows me a photo of a celebrity wearing more makeup than she realises. That gap is exactly where beginners get stuck. A natural bridal makeup look is ‘no makeup.’ It is careful makeup, applied in thin layers, in colours close to your own skin, so that in photos you look rested and glowing instead of ‘done.’
The good news is that this is the most forgiving bridal look to do yourself.
You don’t need twenty products or advanced blending skills.
You need good skin prep, the right order, and a lighter hand than you think.
I will walk you through the exact sequence I use, step by step, including the two mistakes that ruin an otherwise pretty natural look by the reception.
Before any makeup: the prep that decides everything
I will be blunt — if you skip prep, your makeup will not last, no matter which foundation you buy. Skin that is dry will grab product in patches. Skin that is oily and unprepared will slide by midday. Start the night before, not the morning of.
The night before
Gently exfoliate, then apply your usual moisturiser. Do not try a new peel, scrub, or face mask the night before your wedding — a reaction leaves you no time to recover. Apply lip balm generously before bed. Flaky lips make even the prettiest lipstick look untidy. Sleep, and drink water through the day before. Tired, dehydrated skin shows through every natural look because there is less product to hide behind.
In the morning
Cleanse with lukewarm water or your gentlest cleanser, then moisturise and give it a full five minutes to sink in. If you apply foundation over fresh, slippery moisturiser, it will move around. Sunscreen matters for outdoor photos, but choose one you have worn before and let it set for ten minutes; some formulas cause a white cast in flash photography, and your trial is when you find that out — not your wedding album.
The step-by-step routine
Step 1: Primer — only where you need it
Skip the idea that primer must cover your whole face. Use a small amount of mattifying primer on the T-zone if you get oily, or a hydrating one on dry patches. One pea-sized amount is enough. Too much primer is a quiet reason foundations pill and separate.
Step 2: Colour-correct sparingly (optional)
If dark circles are your concern, a tiny amount of peach corrector under the eyes neutralises the blue tone so you can use less concealer later. Blend the edges well. Beginners often use too much here — you should barely see it once it is blended.
Step 3: Foundation — thin, and only where needed
Choose a light-to-medium coverage foundation or a skin tint in your exact undertone. Apply a small amount to the centre of the face and blend outward with a damp sponge. The skin should still look like skin: freckles peeking through is charming, not a flaw. Build a second thin layer only on areas with redness.
Step 4: Concealer — a triangle is too much
Place two or three small dots under each eye, one at the inner corner where darkness is deepest, and blend by tapping, never dragging. Set it immediately with the tiniest amount of translucent powder on a small brush, or it will crease into fine lines within the hour. Spot-conceal any blemish after foundation, so you use product only where it is actually needed.
Step 5: Powder — the T-zone only
Here is mistake number one: powdering the entire face until it is matte. It flattens the glow you worked for and can look dry in photos. Press translucent powder only through the forehead, nose, and chin. Leave the cheeks alone — their natural sheen is your highlighter’s best friend.
Step 6: Blush — placed higher than you think
Cream blush in a soft peach or rose, tapped onto the upper part of the apple of the cheek and blended upward toward the temple, gives that lifted, healthy look. Placing blush low and round on the apple can drag the face down in photographs. Blend until you are sure it has disappeared, then look again — natural blush should be a hint of colour, not a stripe.
Step 7: Eyes — soft definition, waterproof mascara
Keep it simple: a wash of matte taupe or warm brown through the crease, a deeper shade pressed along the upper lash line instead of harsh liquid liner, and a touch of shimmer at the inner corner. Curl your lashes and use waterproof mascara — there will be happy tears. If you wear false lashes, choose wispy clusters; heavy lashes cancel the ‘natural’ brief.
Step 8: Brows — fill the gaps, keep the shape
Brush brows upward, fill only the sparse spots with short, hair-like strokes, and set with clear gel. Your natural brow shape suits your face. Resist redrawing them into a new, darker shape for the wedding — it is the fastest way to look unlike yourself in your own photos.
Step 9: Lips — your colour, one shade deeper
Line the lips with a pencil close to your natural lip colour to stop feathering, then apply a satin lipstick in a pink, rose, or nude one shade deeper than your lips. Blot once, reapply — this layering trick doubles wear time. Hand the lipstick to your maid of honour for touch-ups; lips are the one thing that genuinely needs refreshing after eating.
Step 10: Setting spray — the insurance policy
Hold a long-wear setting spray about an arm’s length away and mist in an X and T pattern. Let it dry without touching your face. This is mistake number two avoided: many beginners spray from two inches away and soak the makeup they just finished, which makes everything shift.
How to make it actually last all day
Thin layers beat one thick layer, every time. Thick makeup cracks; thin makeup flexes with your face.
Blot, don’t powder, during the day. A blotting paper lifts oil without adding cakey layers. Keep powder for one light touch-up, maximum.
Pack a mini kit: lipstick, two cotton buds for under-eye smudges, blotting papers, and a travel setting spray. Give it to one responsible person.
Do a full trial at least two weeks before, wear it for a whole day, and photograph it in daylight and with flash. Adjust from those photos, not from the mirror.
FAQs
Can a beginner really do her own natural bridal makeup?
Yes — this is the most beginner-friendly bridal look because it uses few products and forgiving colours. The trial run matters more than talent. Practise the full routine two or three times before the day.
How long does natural bridal makeup take to apply?
About 45 to 60 minutes once you have practised, including skin prep. Build that into your morning timeline so you are never rushing the steps that make it last.
Will natural makeup show up in professional photos?
Yes, if you add slightly more blush and lash definition than your everyday makeup. Cameras soften colour by roughly a third, so ‘a touch more than normal’ is the right target — not stage makeup.
What if I have oily skin — can I still wear a natural look?
Absolutely. Use a mattifying primer on the T-zone, a long-wear foundation in thin layers, and powder through the centre of the face. Blot during the day instead of adding more product.
Should I buy new products for my wedding makeup?
Only fill real gaps — a correct shade match and waterproof mascara are worth buying. Test anything new at your trial, never for the first time on the wedding day.